This article provides the steps for configuring Microsoft services for a company without an existing Microsoft tenant.
- Start by clicking the Companies button in the left-hand menu.

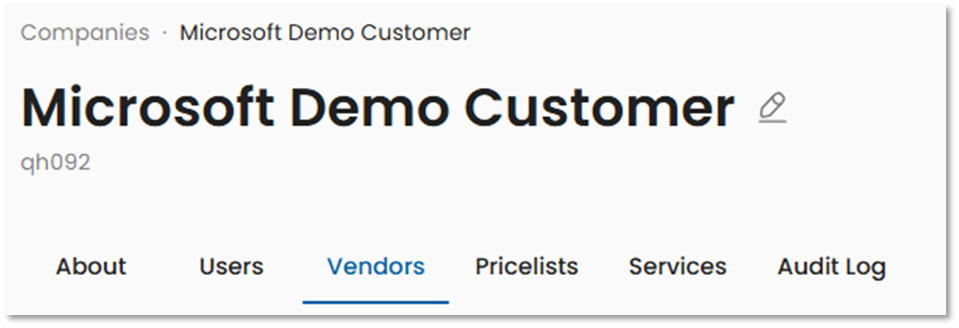
- On the Companies page, click on the name of the desired company to open it.

- Click on the Vendors tab.
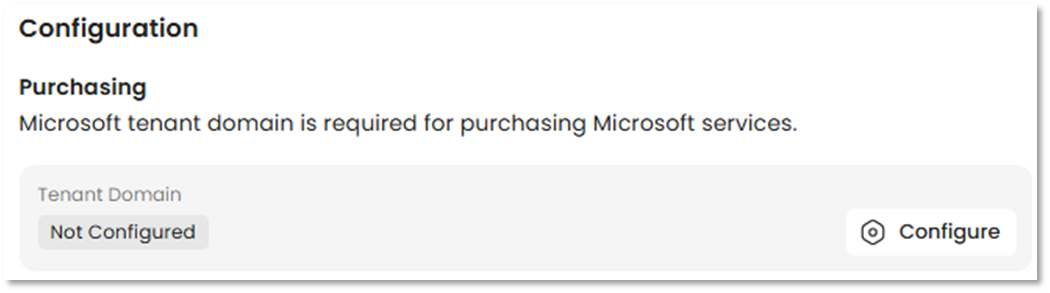
- On the Vendor Details page, in the Tenant Domain box, click Configure.
- On the Purchase Configuration page, select Create a New Tenant. Click the Next button to proceed.

- On the Tenant Domain step, create a default fallback domain for the tenant. This domain will always end in .onmicrosoft.com, must be unique, and cannot be changed after the tenant is created. Click the Next button to proceed.

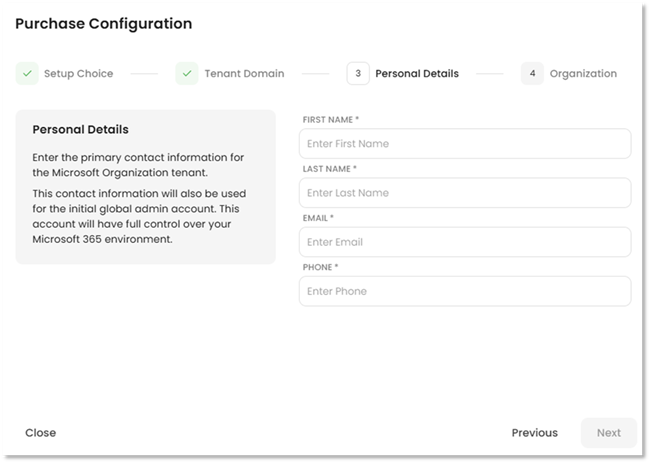
- On the Personal Details step, enter the contact information that will be associated with the default Global Administrator for the tenant. Click the Next button to proceed.
- On the Organization step, enter the organization's name and the address information that will be associated with the Microsoft tenant. Note that the country/region cannot be changed after tenant creation.

- Click Submit. The platform will submit the information to Microsoft and provide credentials for the tenant’s default Global Administrator. Please be sure to record these credentials, as you cannot return to this page later.

- Click the Close button to return to the Vendor Details page for Microsoft.

- On the Vendor Details page, navigate to the Microsoft Customer Agreement (MCA) section and click the Accept button.

- Fill out the contact information for the user accepting the Microsoft Customer Agreement, then click the Next button to continue.

- On the Agreement step, review the Microsoft Customer Agreement and click the Accept Agreement button at the bottom of the page.

- Click the Submit button to finish.